Vector’s Piranha Gun
Project: Private Client
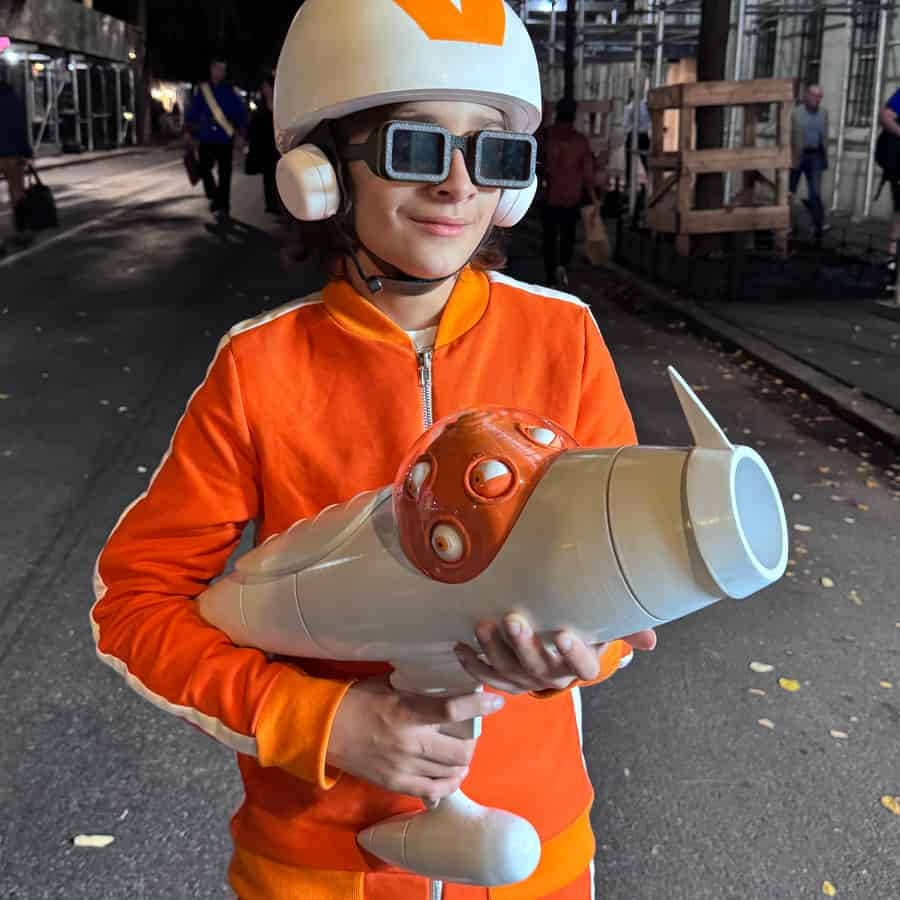
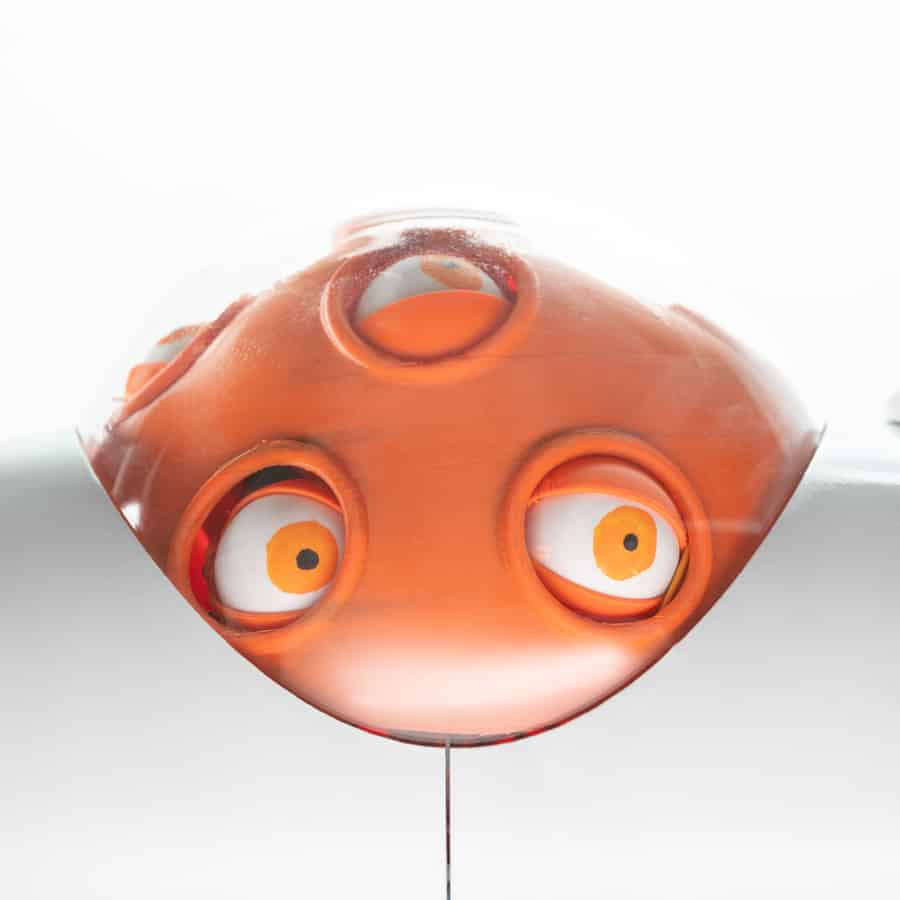
Requirements: Full size replica of the Vector Piranha Gun from DreamWorks Despicable me franchise. Including functional blinking piranha eyes.
Materials: 3D printed PETG, Acrylic paint, ESP3-2 microcontroller, SG90 Micro Servo
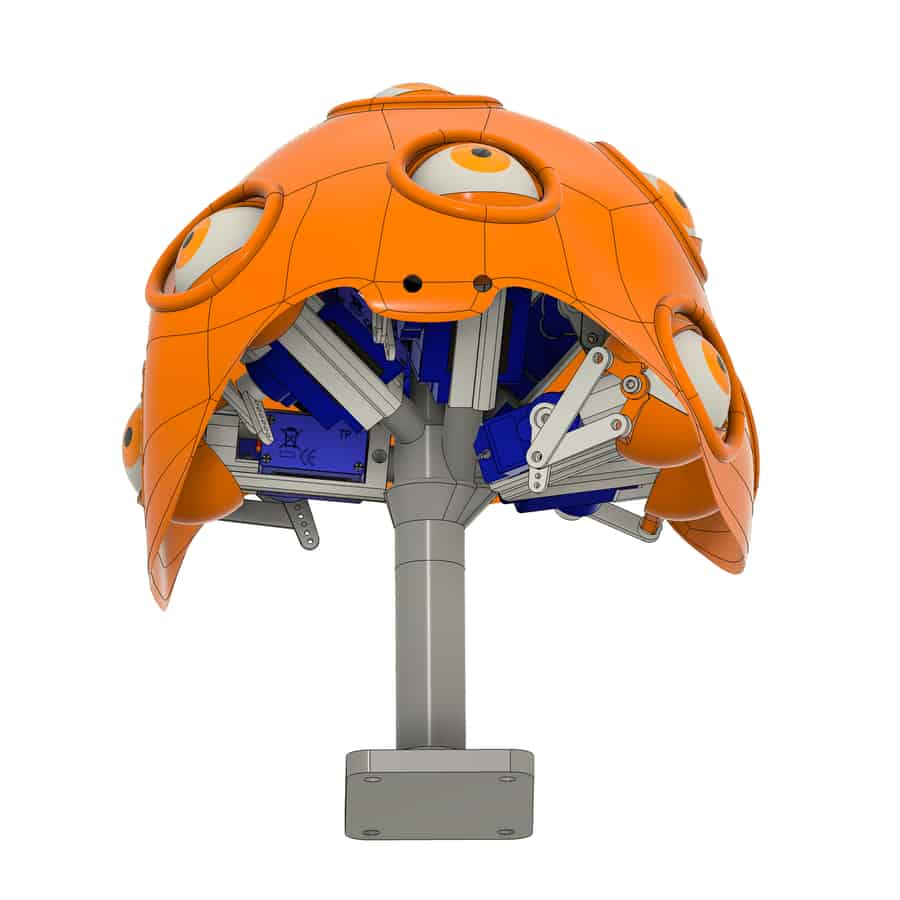
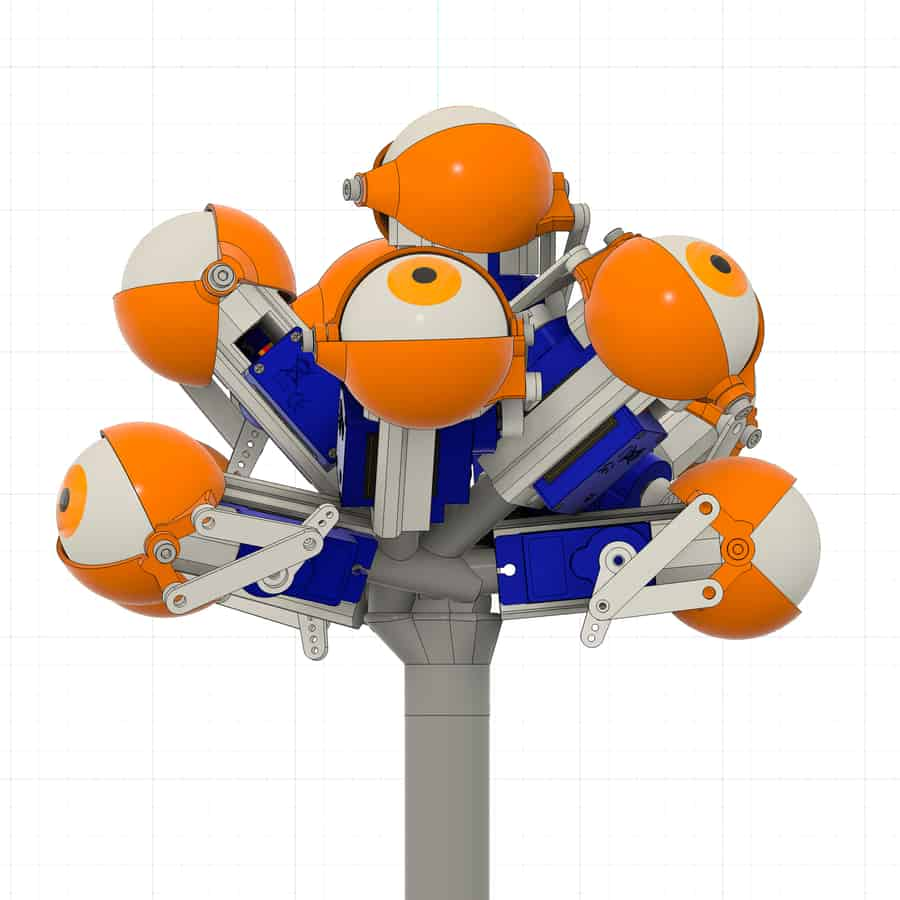
Process: The fabrication began with the design and 3D modeling of the Vector Piranha Gun, ensuring accuracy to its appearance in the Despicable Me franchise. The components were 3D printed using durable PETG material to achieve both structural integrity and detail. An intricate internal tree structure was designed and fabricated to support the nine piranha eyes and their accompanying SG90 micro servos, allowing precise movement. Finally, the entire piece was meticulously hand-painted with acrylic paint to replicate the vibrant, polished finish of the original design. The result was a fully realized, lifelike replica


The Design Process
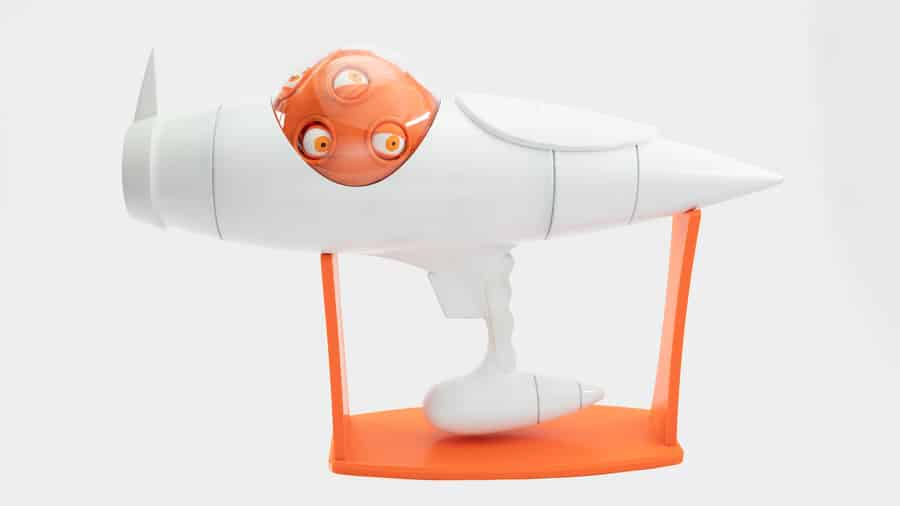
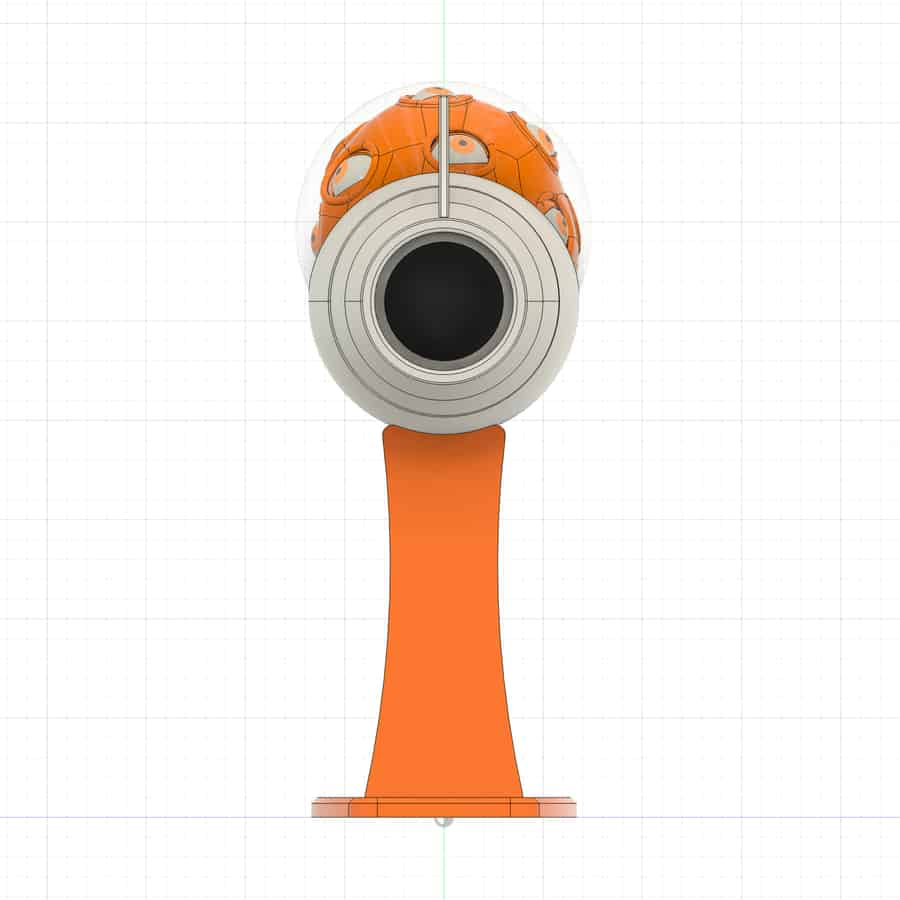
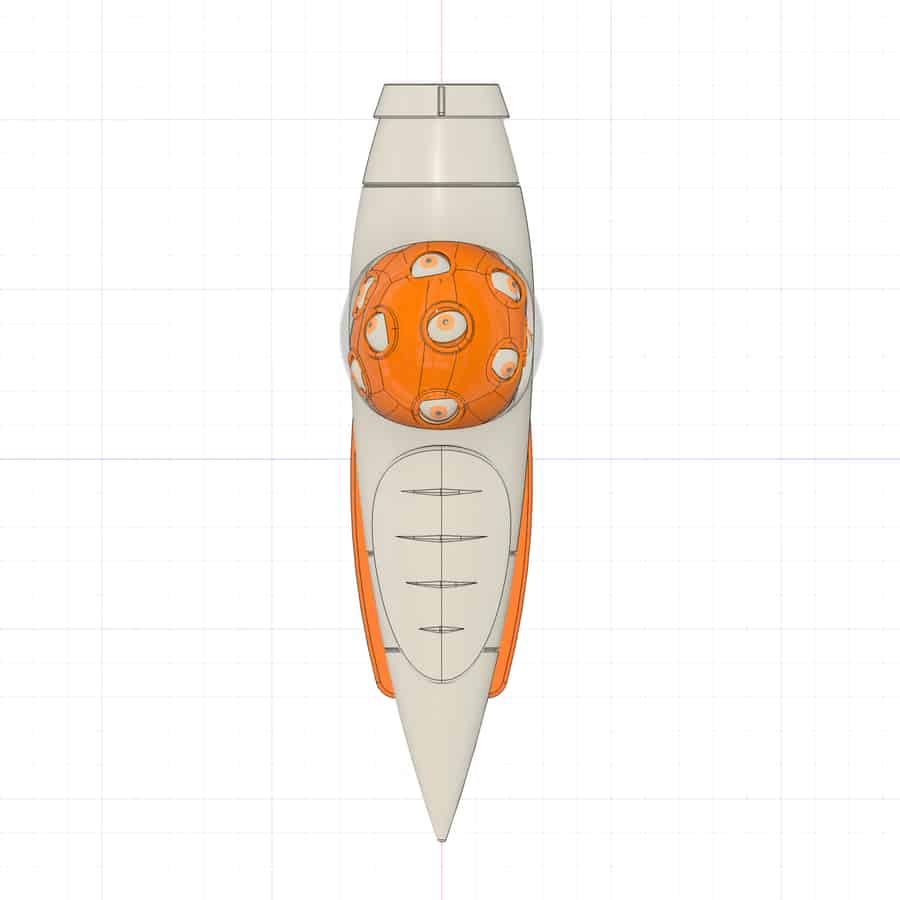
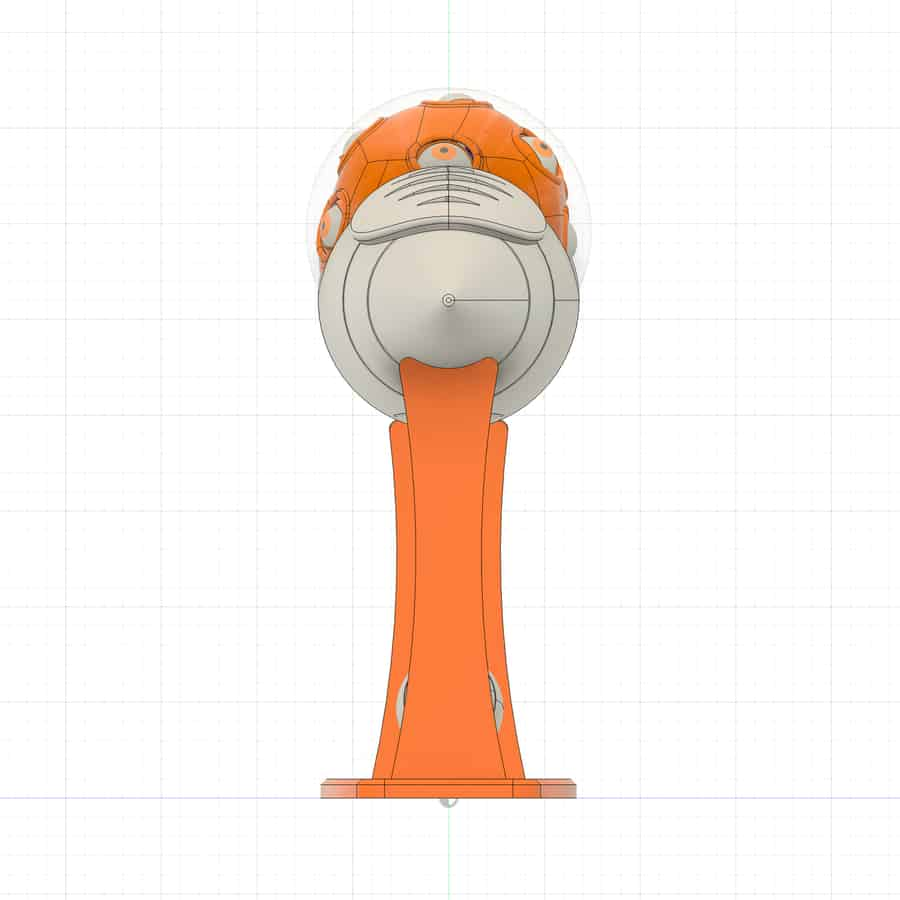
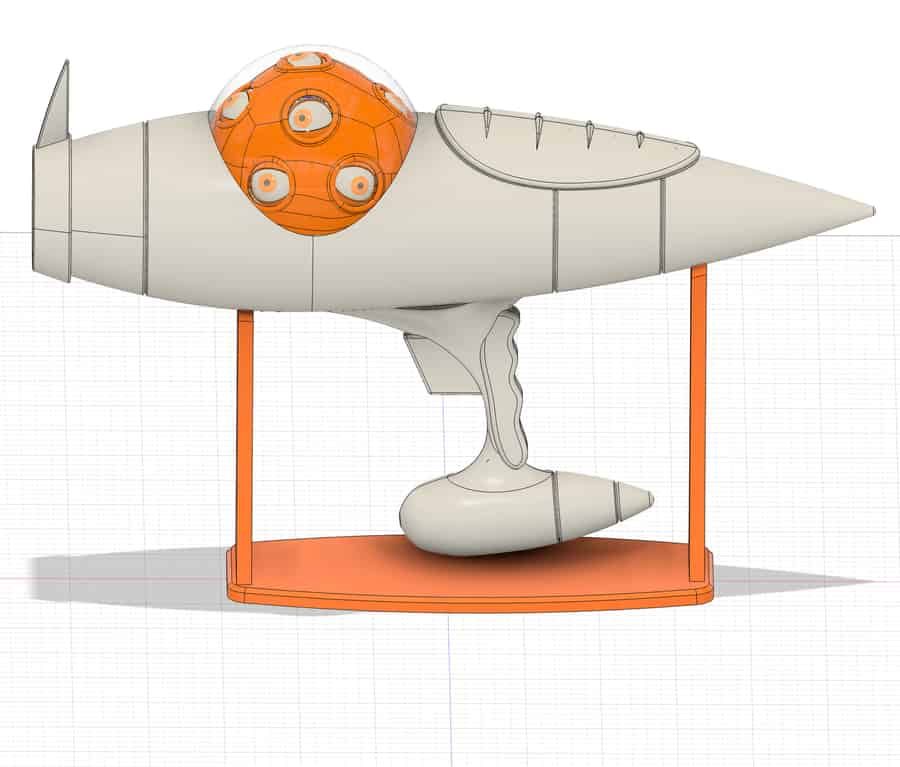
The project began with extensive research and reference gathering to ensure an accurate recreation of the Vector Piranha Gun. Using fusion 360, we meticulously 3D modeled the prop, paying close attention to scale, proportions, and intricate details. The entire process was completed within a tight two-week timeline, meeting the client’s deadline without compromising quality.
Mechanical and Electronics
The piranha head featured nine individual eyes, each controlled by its own SG90 micro servo motor. To create a lifelike effect, all eyes were programmed to blink randomly, adding dynamic functionality to the prop.
The primary challenge was fitting all servos, wiring, and the ESP32 microcontroller into the confined space of the piranha head. To address this, we designed and fabricated a custom “eye tree” structure. This intricate framework securely housed all components, ensuring precise alignment and stability while maximizing the use of limited space.
Assembly and Finishing
The 3D-printed components were carefully assembled with the internal mechanical and electronic systems, ensuring precise alignment and functionality. The finishing process involved sanding and filling the surfaces to achieve a smooth base, followed by applying primer. Multiple layers of acrylic gloss white paint were added to replicate the look, with a final clear coat applied for gloss and protection.
